

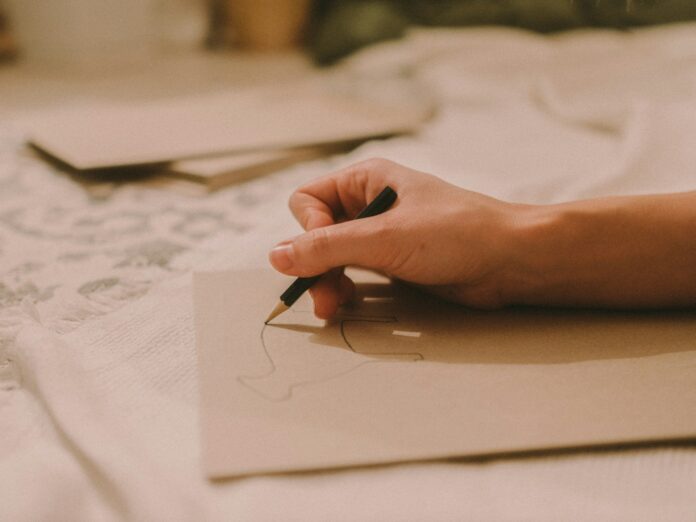

It’s easy to spend twenty minutes drawing one eye and then discover that there’s barely room for the other. Portraits invite that kind of attention: a catchlight here, a curl there, a tiny crease beside the mouth.
Give yourself a simpler starting task. Work out how the head sits on the page, where the features belong, and which areas are light or dark. You’ll have a drawing you can assess and adjust before the smallest marks start demanding your time.
Table of Contents
Choose a Reference You Can Read Clearly
Start with a photo where you can see the head shape, the main features, and some change between light and shadow. A relaxed expression and a straightforward viewing angle can make the first attempt easier to manage.
A familiar face can give you a reason to keep looking. HollywoodBios readers might choose a subject from the profiles of Emma D’Arcy or Fabien Frankel, then select one clear photograph to work from.
Keep that image visible beside your paper. For this first study, stick with the same view throughout. Changing between photos with different expressions and angles can make it difficult to tell which shapes you’re trying to draw.
Place the Whole Head Before the Features
Mark the top and bottom of the head lightly, leaving room for the neck and a little of the shoulders. Add a loose outline that suggests the width of the skull and the shape of the jaw.
Before the main drawing, make a tiny version of the whole portrait in the corner of your page. Use only a few lines for the head, neck, and shoulders. This quick trial helps you decide how large to work and whether the portrait fits the space you’ve chosen.
Look at the tilt. Is the person leaning, looking down, or turning slightly away? Make a light guide through the middle of the face to help you keep that direction in mind.
The National Portrait Gallery’s demonstration on starting a portrait shows artist Robin-Lee Hall using simple shapes and structure lines, then checking and changing them before adding detail.
Keep your first marks faint enough to move. You’re deciding where things belong, and adjustments are part of that work.
Use Landmarks to Position the Features
Lightly indicate the angle of the eyes, the base of the nose, and the mouth. Check each against the reference before making any of them more definite.
Compare distances and widths. How much space sits between the nose and the mouth? Where do the eyebrows begin relative to the eyes? How wide is the jaw compared with the upper part of the head?
Check the spaces between shapes as well. The patch of forehead beneath the hair, the gap between an eyebrow and an eyelid, and the space beside the nose can all give you comparisons to make. If a feature looks wrong, inspect the surrounding spaces before adding more lines to the feature itself.
Look at the particular person you’re drawing. General proportion guides can give you a starting point, but the reference helps you decide where the features belong in this view.
At this stage, an eye can be a small shape showing its position and angle. The eyelashes and reflections can wait while you establish its relationship to the rest of the face.
Move Around the Face as You Work
Bring the features along together. Put in both eyes loosely, suggest the nose, and mark the mouth before spending much longer on any single area.
This gives you more to compare. You may notice that the eyes need to move down, the mouth is too wide, or the chin needs more space. Those changes are easier to make while the drawing is still lightly sketched.
Keep checking each side against the reference. A turned head can show more of one cheek or partly hide an eye. Draw the shapes you can see, including their differences, rather than trying to make both sides match.
Group the Main Shadows
Pause and look for the largest darker areas. These might sit beneath the hair, along one side of the nose, under the lower lip, or across the neck.
Try a study using three broad tones: the light of the paper, a middle grey, and a darker tone. Keep each area simple at first so you can judge how they work together.
Observe where a shadow has a firm edge and where it fades gradually. Use a lighter touch for a gentle transition, then compare the result with the reference.
Leave some light areas untouched. You can build darker marks gradually while checking that the face still has the balance of light and shadow you intended.
Treat Hair and Clothing as Larger Shapes
Begin the hair as an overall shape around the head. Look at where it rises, where it meets the forehead, and how it changes the outline.
Divide it into a few larger sections before adding strands. A handful of marks following the direction of the hair may give you enough information for a small study.
Use the same approach for clothing. Place the collar, shoulder line, and a few important folds. You can leave fabric patterns and jewellery until you’ve checked the face.
Occasionally hold the drawing farther away. Look at the relationship between the head, hair, neck, and shoulders, and adjust whichever part feels out of place.
Choose a Few Details to Develop
Once the larger shapes are working, choose where you’d enjoy spending more time. You might develop the eyebrows, the corners of the mouth, or a particular shadow around the eyes.
Add a few marks, then look at the whole portrait again. Check whether each addition helps explain the shape or expression you’re studying.
For inspiration, the National Gallery of Art’s portrait collection brings together different materials and approaches to representing people. Look at how much information an artist includes and which parts receive the most attention.
Your study can remain quite selective. A clearly placed feature or a carefully observed shadow gives you something useful to keep, even when other areas stay loose.
Practise With Short Studies
Try several small portraits across a page. Give one study to the head shape and tilt, another to the placement of the features, and a third to the main shadows.
Working with a specific aim gives you a way to judge each attempt. Ask whether you caught the angle or placed the mouth where you intended. Make a note of what you’d change in the next sketch.
If you want another subject between portrait attempts, browse Things to Draw for ideas to use in a short drawing session. Choose something that lets you concentrate on an outline, a shape, or a patch of shading.
Return to the same portrait reference occasionally. You’ll have a familiar subject to compare with earlier pages and a chance to notice something you missed before.
For your next portrait, set a small first goal: place the head, mark the features, and suggest the main shadows. Step back and check those decisions before adding the details you’re most interested in.
Keep the study even if parts look awkward. Circle one area that needs attention and write a short note beside it. That gives your next portrait somewhere concrete to begin.